
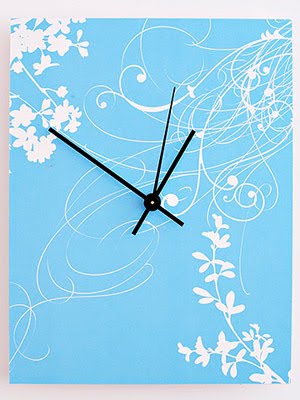
 Tick tock, tick tock....do you hear that? Thats the sound of time telling you that your boring walls need a little sprucing up! However you won't need much time to make this easy diy clock that can be customized to match your room in millions of ways thanks to the clever scrapbook industry. For as much paper there is on the market, you have that many choices on how you want your clock to look.
What you'll need;
Instructions;
- Decide on your clock's shape. Adhere paper to foam-core board using spray adhesive. Cut out the desired shape using a crafts knife.
- If desired, paint chipboard numbers in a coordinating color; let dry. Attach to the clock face with glue.
- Mark the location for the clockworks. Using a 5/16-inch-diameter dowel sharpened to a point (or a round pencil or awl), puncture a 5/16-inch hole. Carefully trim excess paper from the hole with a crafts knife.
- Follow the manufacturer's instructions to attach the clockworks


1 comment:
Great tutorial! I just found your blog as I was writing a post on clocks for daylight savings today and I linked your post! Come on by and check it out!
Post a Comment